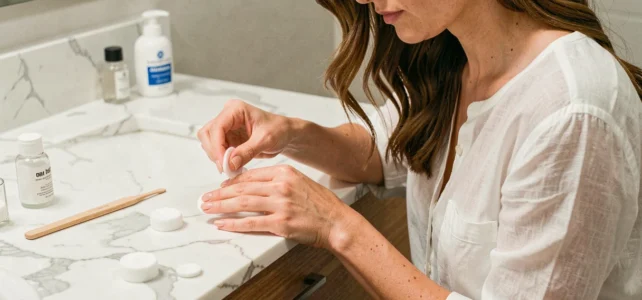
Removing porcelain from your nails at home seems simple, but the chemistry of dip powder resins requires a precise protocol. The difference between a preserved natural nail and a weakened plate for several weeks lies less in the product used than in how one manages the soaking time and mechanical removal. Here’s what dermatologists and solvent formulators point out as determining factors.
Pure acetone or dip powder remover: what the composition really changes
Most tutorials recommend pure acetone as the only option for dissolving porcelain. It’s effective, but incomplete. Removers specifically formulated for dip powder systems contain mixtures of ethyl acetate or isopropyl alcohol that accelerate dissolution while limiting skin dryness.
In practical terms, pure acetone acts quickly but significantly dehydrates the plate and cuticles. Dedicated formulas achieve an equivalent effectiveness on porcelain resins with a reduced drying effect. For repeated home use, the difference accumulates.
| Criterion | Pure Acetone | Dedicated Dip Powder Remover |
|---|---|---|
| Active Ingredient | Concentrated Acetone | Ethyl Acetate, Isopropyl Alcohol, Diluted Acetone |
| Dissolution Speed | Fast | Comparable |
| Drying Effect | High | Moderate |
| Availability | Pharmacy, Supermarket | Specialty Stores, Online |
| Cost | Low | Slightly Higher |
To find out how to remove a porcelain nail without risking weakening the plate, the choice of solvent is the first lever to consider even before discussing technique.
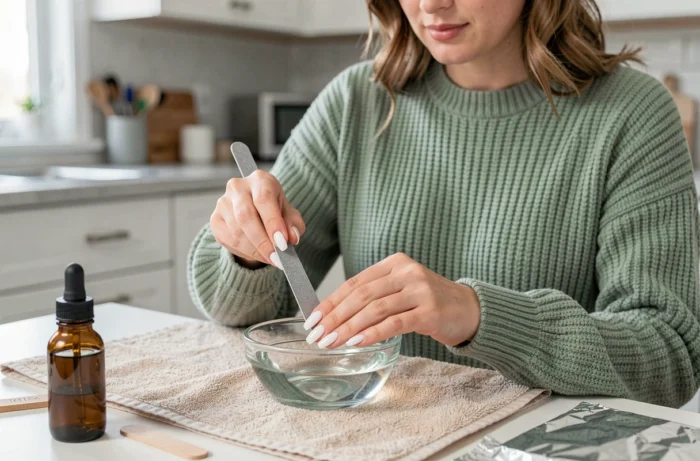
Soaking Time for Porcelain: The Factor Most Guides Underestimate
The resins used in dip powder systems are highly cross-linked, meaning their molecular chains form a dense network. A soak that is too short leaves the material partially hardened. The natural reflex is then to scrape harder, and that’s where the damage occurs.
Recent dermatological publications are clear on the hierarchy of risks: temporary dryness related to the solvent is a minor and reversible drawback. In contrast, peeling or ripping off the extension removes layers of keratin with it, causing lasting damage to the natural nail.
Adapting Soaking to Layer Thickness
A thin layer of porcelain (one or two applications of powder) softens faster than a thick application with multiple layers of dip and resin. Testing the material with a wooden stick after a few minutes of soaking allows you to assess whether it detaches without resistance.
If the porcelain does not lift easily, extend the contact with the solvent rather than forcing it. Every additional minute of patience spares micro-trauma to the plate.
Step-by-Step Porcelain Removal Protocol
The preliminary filing is not meant to remove the porcelain but only to eliminate the top coat that prevents the solvent from penetrating. A medium-grit file is sufficient. Filing down to the natural nail is the first mistake to avoid.
- Shorten the nails with clippers to reduce the surface area to treat, then buff the top coat with a few passes of the file without pressing
- Soak a cotton ball in acetone or dip remover, place it on the nail, and wrap the finger in aluminum foil to limit solvent evaporation
- Leave it on long enough for the resin to soften deeply, then remove the material with a wooden stick or cuticle pusher applying light pressure
- Repeat the soaking on areas that resist rather than scraping, even if it prolongs the removal by several minutes
This protocol may seem slow, but it ensures that the natural plate remains intact under the porcelain.
Finishing and Post-Removal Care
Once all the material is removed, a light buffing with a nail block eliminates residues without damaging the surface. The next step is hydration: a cuticle oil (jojoba, sweet almond) applied immediately compensates for the dehydration caused by the solvent.
Hydration is not an optional cosmetic gesture. After an acetone soak, the plate loses its flexibility. The oil restores the nail’s flexibility in a few applications spread over the following days.
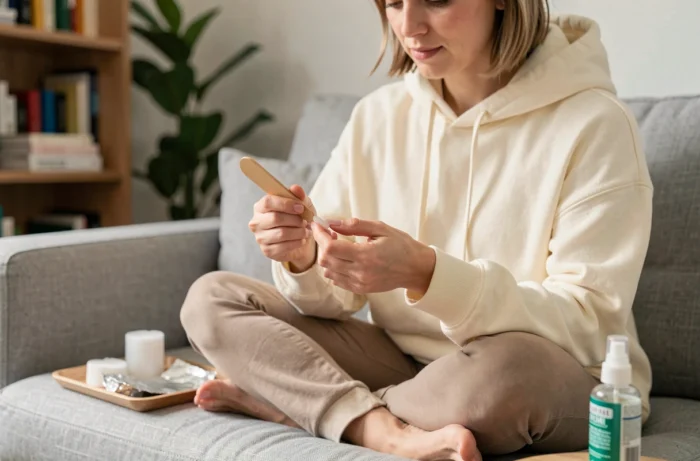
Pulling vs. Dissolving: What Dermatologists Say
The temptation to pull on a porcelain nail that starts to lift is strong, especially when the edges lift on their own after a few weeks of wear. Recent dermatological data place this gesture as the leading cause of damaged nails after removal, far ahead of exposure to acetone.
The mechanism is simple: the resin adheres to the superficial layers of keratin. Pulling off the porcelain takes these layers with it, leaving a thinned, ridged nail that is sensitive to touch. Complete regrowth of a damaged nail takes several months.
In comparison, acetone causes temporary dryness that corrects itself in a few days with appropriate care. The benefit-risk ratio clearly favors prolonged soaking, even if the process requires patience.
Removing porcelain at home requires neither expensive professional equipment nor advanced technical skills. Choosing a remover suitable for dip resins, respecting soaking time without shortcuts, and systematically refusing to scrape or pull are the three parameters that separate a clean removal from a weakened nail for weeks.