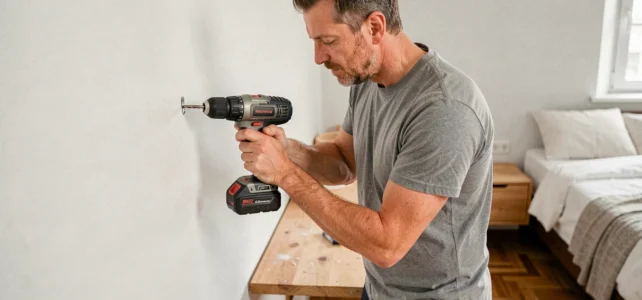
Fixing a bedside table to the wall may seem simple on paper, but success largely depends on what lies behind the partition. The type of wall, the expected weight on the shelf, and the quality of the anchors determine the strength of the installation far more than the chosen model. Before pulling out the drill, a few checks can prevent unpleasant surprises, from the anchor spinning in the void to the furniture sagging after a few weeks.
Solid wall or hollow partition: the diagnosis that changes everything
Most wall mounting failures stem from a poor diagnosis of the support. A concrete, solid brick, or stone wall can bear heavy loads with simple expansion anchors. A plasterboard partition, on the other hand, requires specific fixings to avoid tearing out.
To identify the nature of the wall, tap the surface with your fist. A hollow sound indicates a lightweight partition (plasterboard on a metal or wooden frame). A dull, solid sound indicates a solid wall. If in doubt, drill a small test hole with a fine bit: white, fine dust confirms plasterboard, while gritty dust reveals concrete or brick.
Recent assembly instructions, including those from major manufacturers, now explicitly distinguish fixings based on whether it is a solid wall or a hollow partition. If you are installing a bedside table to be fixed to the wall on plasterboard, prioritize a direct fixing into a stud when possible. Molly anchors or toggle bolts remain the most reliable alternative for areas without a stud.
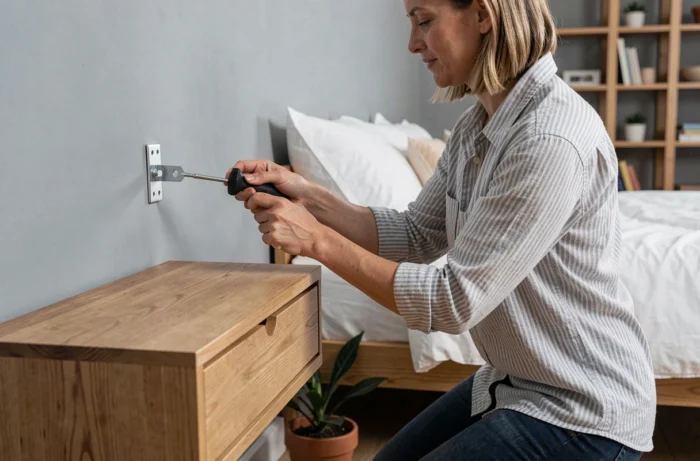
Fixings for wall-mounted bedside tables: choose according to the actual load
The choice of anchor is not random. It depends on the total weight that the bedside table will need to support, including the furniture itself. An empty shelf doesn’t weigh much, but add a bedside lamp, a book, a charging phone, and a glass of water: the load increases quickly.
- On solid walls (concrete, brick), metal expansion anchors are sufficient in the vast majority of cases. They can handle loads far exceeding what a bedside table supports.
- On hollow partitions with accessible studs, screw directly into the metal or wooden stud with appropriate screws. This is the strongest fixing on plasterboard.
- On hollow partitions without a stud, Molly expansion anchors provide good resistance to pulling out. Avoid standard plastic anchors, which do not hold in voids.
- For lightweight furniture (simple shelf without a drawer), some kits offer drill-free solutions based on high-strength adhesive. Their use is limited to smooth, clean, and non-porous surfaces, and they require a curing time before any load is applied.
Several recent guides recommend not relying solely on standard anchors for furniture intended to hold everyday items. Fixing into a stud remains the safest solution when the configuration allows.
Height and placement of the wall-mounted bedside table relative to the bed
The installation height influences usability as much as aesthetics. A bedside table that is too low forces you to lean over, while one that is too high makes accessing items uncomfortable from the bed.
The most reliable reference point is the top of the mattress. The surface of the bedside table should be at the same height or slightly above. Check this measurement once the bed is made, including the duvet, as the thickness of the bedding can shift the perception by several centimeters.
Marking the points before drilling
Use a bubble level, even a short one, to draw a horizontal line on the wall. Mark the fixing points with a pencil. Measure twice: a misaligned hole in plasterboard leaves a mark that is difficult to correct, and a hole in concrete in the wrong place requires filling and starting over.
For models with a fixing rail (common on bedside tables with drawers or cabinets), first position the rail alone on the wall, check for horizontal alignment, then mark the holes. The rail must be perfectly level for the drawer to slide correctly.
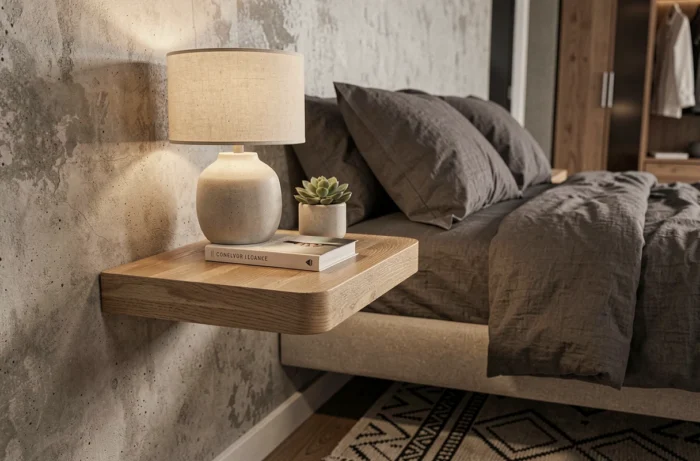
Drill-free bedside table: an option for renters
Drill-free solutions are gaining visibility in rental spaces where drilling into the wall is not desirable. They generally rely on high-strength adhesive strips or reinforced suction systems.
Field feedback varies on this point. On a smooth, non-porous surface (tiles, glass, lacquered metal), these systems hold reasonably well for light loads. On a standard painted wall or textured coating, reliability decreases. The paint may peel off before the adhesive gives way, taking the furniture along with a piece of wall finish.
Before sticking, clean the area with isopropyl alcohol to remove any grease or dust. Follow the curing time indicated by the manufacturer, often several hours, before placing anything on the bedside table. And keep in mind that these fixings are only suitable for lightweight shelves without drawers or cabinets.
Common mistakes when installing a wall-mounted bedside table
Several pitfalls frequently appear in online feedback:
- Using generic plastic anchors on plasterboard without a stud. They end up spinning in the hole, and the furniture falls off.
- Neglecting cable management. If a lamp or charger needs to be plugged in, plan the cable route before fixing the bedside table. Some models include a cable passage at the back.
- Tightening screws too hard on a hollow partition. The plasterboard crumbles, and the anchor loses all grip. Tighten firmly but without forcing beyond the point of resistance.
The choice of the furniture itself also plays a role. A solid wood cabinet with a drawer weighs significantly more than an MDF shelf. Check the weight of the bedside table when empty before purchasing the fixings.
Installing a wall-mounted bedside table does not require advanced skills, but it does require precision on two specific points: diagnosing the wall and choosing the anchor. The rest, marking, drilling, and screwing, follows a standard process. A stud finder costing a few euros and a bubble level are enough to transform a rough installation into a durable fixing.