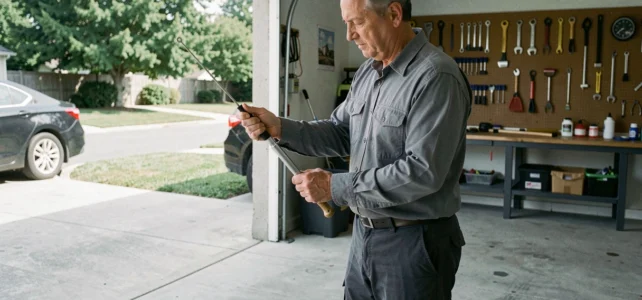
One morning, the garage door no longer stays in the open position. It slowly descends or falls suddenly. In most cases, the gas strut is to blame: its internal pressure has dropped, and it no longer compensates for the weight of the door. You can fix the problem yourself as long as you follow a specific order and take some safety precautions.
The five steps that follow cover the intervention from start to finish, from diagnosis to final adjustment. They apply to tilting doors equipped with gas struts, the most common case in residential settings. For sectional doors or hydraulic systems, the logic remains similar, but the fixings differ.
1. Diagnosis of the faulty strut before disassembly
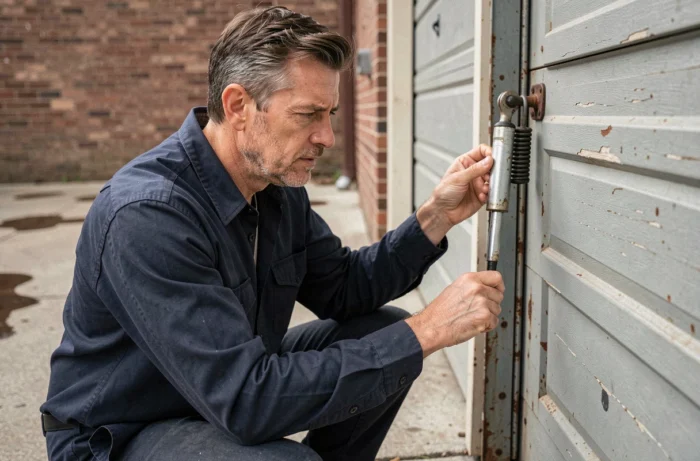
Before ordering a part, check that the strut is indeed the cause of the problem. A door that falls can also indicate a tired torsion spring or a misaligned track. The simplest test is to disconnect the motorization (if it exists) and operate the door manually.
If the door remains heavy halfway and does not stay open, the strut has lost its charge. You may also see oil traces on the rod or fixing points, a sign that the internal seal has failed. A leaking strut cannot be repaired; it must be replaced.
The procedure for changing the garage door strut always begins with taking measurements: retracted length, extended length, tube diameter, and type of fixing (ball joint, clevis, threaded rod). These measurements allow you to order the correct model without risking a return.
2. Securing the door and preparing the tools
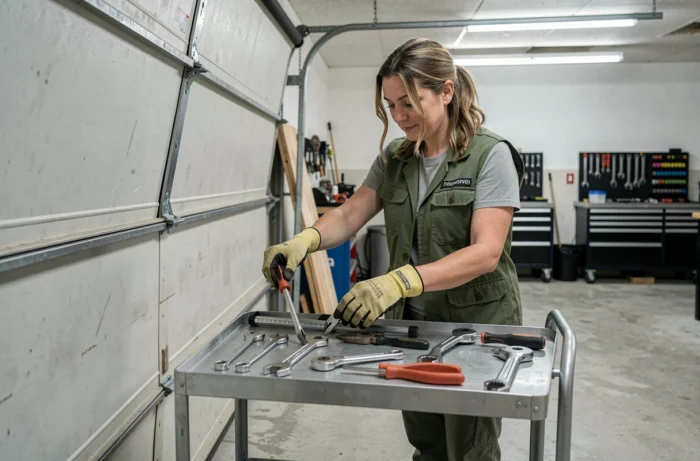
You should never work under an unsecured garage door. The door often weighs several dozen kilos, and a faulty strut no longer holds anything. The first action is to secure the door in the open position with a clamp on the track or a wooden wedge under the bottom panel.
Cut the power supply to the motor if the door is motorized. An accidental trigger during the intervention can cause crushing. Then unlock the motorization carriage so that the door is completely free on its tracks.
The necessary tools are limited:
- Open-end or socket wrenches (generally from 10 to 17 depending on the brands) for the fixing axes
- A flat screwdriver to remove the retaining clips on some ball joint models
- A cloth and degreaser to clean the anchor points before installing the new strut
- Safety glasses, as a strut under residual pressure can spray oil upon opening
3. Removing the old gas strut
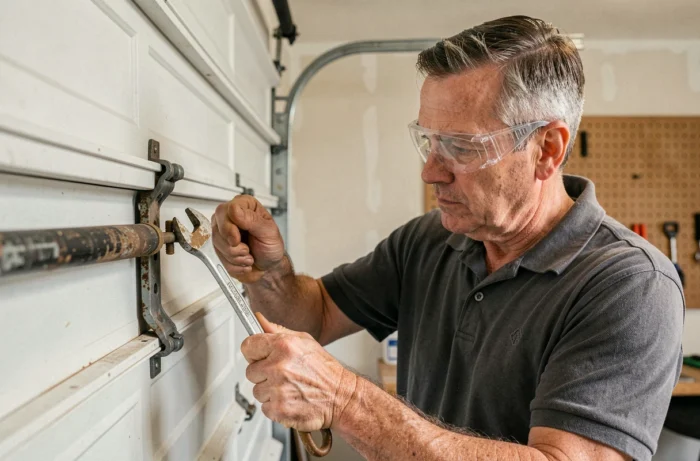
Always start with the lower fixing point (frame side), then release the upper point (door side). This sequence prevents the strut from resting on a single point with the weight of the door pulling on it.
On ball joint models, simply remove the E-clip or pin, then gently lever to free the ball joint from its axis. On clevis models, unscrew the through rod. If the fixing is stuck due to rust, a few sprays of penetrating oil and ten minutes of patience can save time.
Do not force a stuck axis with pliers: you risk deforming the clevis of the support, which will complicate the installation of the new strut. A moderate heat application with a heat gun can free most corroded fixings. Note the exact position of washers and spacers to reinstall them in the same order.
4. Installing and fixing the new garage door strut
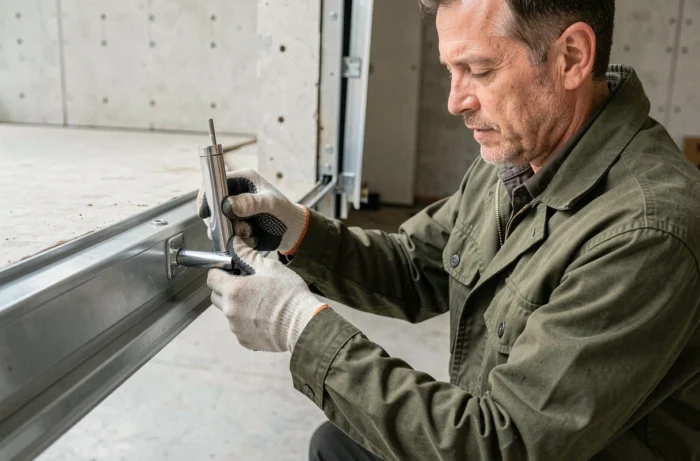
The new strut is installed in the reverse order of disassembly: upper fixing first, lower fixing second. Present the strut in the retracted position, engage the ball joint or rod into the upper support, then slightly stretch the strut to reach the lower anchor point.
On some doors, the returns vary at this point, and it may be necessary to enlist the help of a second person to align the strut and support simultaneously. Once both fixings are in place, check that the retaining clips are properly clicked in and that the axes have no lateral play.
If the door is equipped with two struts (one on each side), replace both at the same time. A new strut paired with a worn strut creates an imbalance that puts abnormal stress on the tracks and hinges. Replacing both struts simultaneously extends the lifespan of the entire system.
5. Adjustment and verification of operation after installation
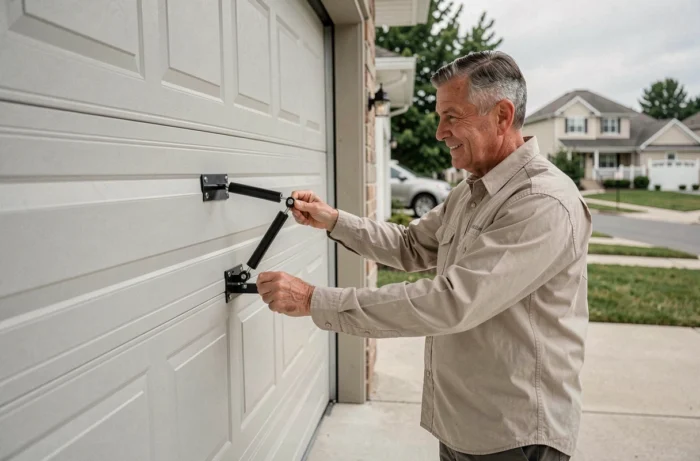
Remove the safety wedges and test the door manually before reconnecting the motor. The door should rise without excessive effort, remain stable halfway, and not fall when released in the open position.
If the door descends slightly, the chosen strut may have insufficient force for the weight of the door. Check that the force in newtons indicated on the strut matches the manufacturer’s recommendation for the door. A difference of a few newtons is not a problem, but significant undersizing will prematurely wear out the strut.
Once manual operation is validated, re-engage the motorization carriage and perform several complete cycles. Monitor that the door does not vibrate, that the motor does not strain at the end of the stroke, and that the fixing points remain stable.
- Check for any oil leaks on the new strut after about ten cycles
- Lightly grease the fixing axes with lithium grease to prevent corrosion
- Check the tightness of the fixings after a week of daily use
One last point to keep in mind: any modification of the stroke or force of the strut compared to the original configuration may impact the CE compliance of the door, especially since the entry into force of EU regulation 2024/3110 in January 2026. On a motorized door, the machinery compliance declaration remains linked to the initial configuration. It is better to stick to a like-for-like replacement.